Ever struggled to get a neat environment into your 3d-scene? We know the troubles of getting this right feel of vast landscapes. And we have also spent many hours fiddling on a terrain that in the end just felt too small, boring or in other ways “just not right”.
Well, on the way we learned some things that we would love to share. We dived into UE4 last year and created a few landscape scenes ourselves, our latest this winter chalet, which you can download for free. Our advices are mostly about the first steps to take. Have fun with them!
There are some issues that you will stumble across definitely. Maybe some of our hints can help you on the way:
1. The right start
2. Get into the mood
3. The thread of experience
4. The right scale
5. Environment Landscape workflow
6. Small wins
The final scene that you have downloaded and tested … but how to start creating this?
1. The right start
Learning a new software as UE can be massive fun. Many 3d-artists – full of enthusiasm are diving into the Unreal Engine and start what they do best: Modelling for example. That may be fun, but if you don’t want to get lost in an erratic search I would approach this differently: By laying out your concept!
What does that mean ?
Take these 10 minutes and put down what you want to have in the end. This document should be the most important element of your workflow, the “commandments of your creative process”, because they will keep you focused throughout the process. Maybe you also find out what is weak about your idea early on– so start refining it.
Our current concept table – the “main sheet” being at the heart of moods and sketches.
One important question: What is special about my idea? This is quite crucial for success. We are constantly flodded by media input and have a very low tolerance for mediocre material. Try to put yourself in the view of the specator: What do you want him to experience? What emotions do you want to convey? What are key assets of the experience.
Be critical about your concept. You will invest a lot of time in this, so ask others from the start if they find the idea convincing. If you have a feeling it is still too hazy yet, it will also be vague in the end. And even worse, it might never get finished, because you get insecure and tired on the way. And there is little worse than hundreds of hours ending up on your harddrive.
2. Get into the mood
We are visual people, so we love to communicate with images. That’s why I favour starting off every creative project with moods (= reference images).
Learning to work with reference images is the easiest way of to nail down this idea in your head. The only tool you need is google.
Don’t get me wrong here – we are not looking for the one image that describes your concept in whole. This would be a copy – which is not what we are looking for. You are rather looking for pieces of a puzzle that form a new combination that defines your idea. We normally categorize these as follows:
- Light Mood
- Materiality
- Form and shape
- Environment
- Special Features
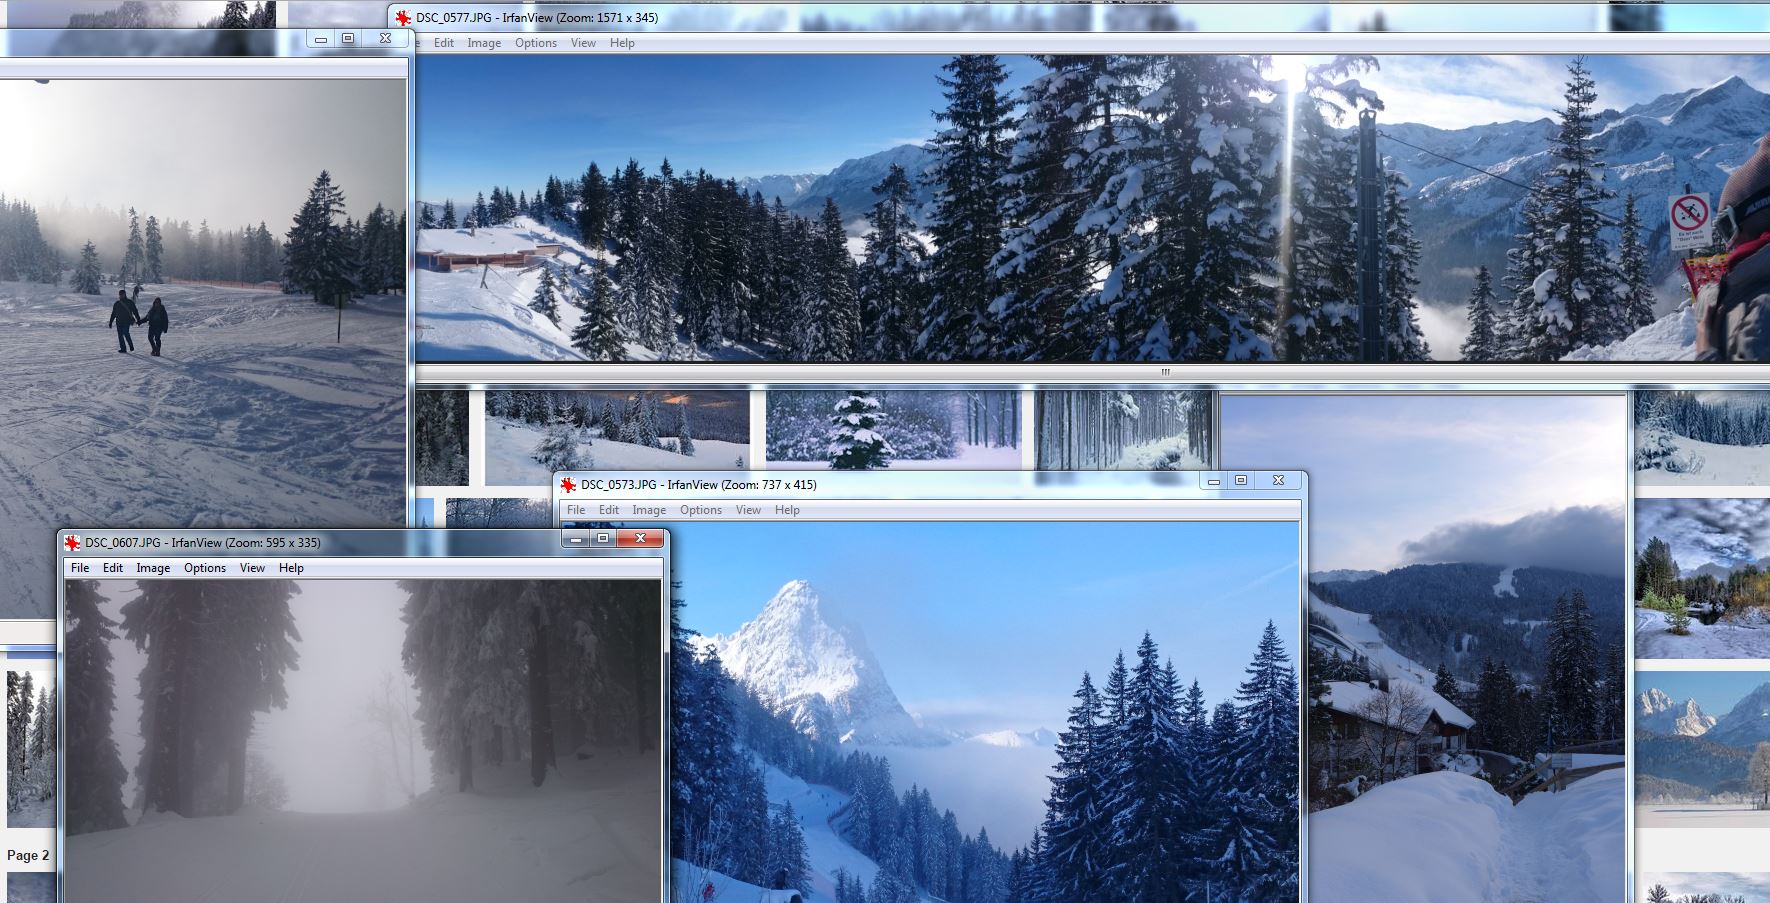
A set of different light moods fitting for winter scenarios helped us to stay on track …
I have been working in creative teams that spent days just looking for moods on the web before they even started sketching.
Another great advantage is, that through reference images you can communicate some ideas fast to your team-members: “Look, I like this color range” or “Look, I love how the mist blends into the blue on this image” … We keep the references pinned up surrounding our workspaces to have the fitting ambience soak into our team.
One important advice: Be bold! Try to think differently when combining images. One of my mentors once said: „True creativity is putting things together that do not belong together!“ Welcome combinations that might just happen and seem weird – they just might make the difference that makes your scheme intriguing.
This can be greatly done with your references – just combine things until they feel like it is an exciting combination.
And stick with them – make these references your alltime guideline until the project is steering towards a safe harbour and you know you kept your initial idea.
3: The thread / net of experience
Interactive Experiences involve „time“ as a dimension. In this sense they have something in common with animation. In the same fashion they can be storyboarded.
Here you see the path highlighted that I want the spectator to follow – and the cameraview that is attached to the path gives the right impression from eyeheight.
So why should we do this?
Imagine watching a thriller, but unfortunately you already learned too early who is the murder or how the movie is going to end. Possibly quite boring, no? Obviously nobody would do a movie with obvious flaws like this, but in an interactive experience things are more complicated. The specator might react differently than you thought, in fact he probably will!
So the art is to guide your spectator through your experience without him noticing it. Try to make him take the decisions you want, but without forcing him bluntly.
But before that you have to lay out how you want him to experience the scene. In more complex scenarios you might have a whole network of possibilities. You certainly want to avoid that your viewer has to criss-cross your scene – he might even get disoriented. Or imagine him wandering for 10 minutes across a rather empty stretch – he will probably quit altogether.
Building a strong string of experience will help to keep the him wanting to see more!
How can your 3d-workflow help in this?
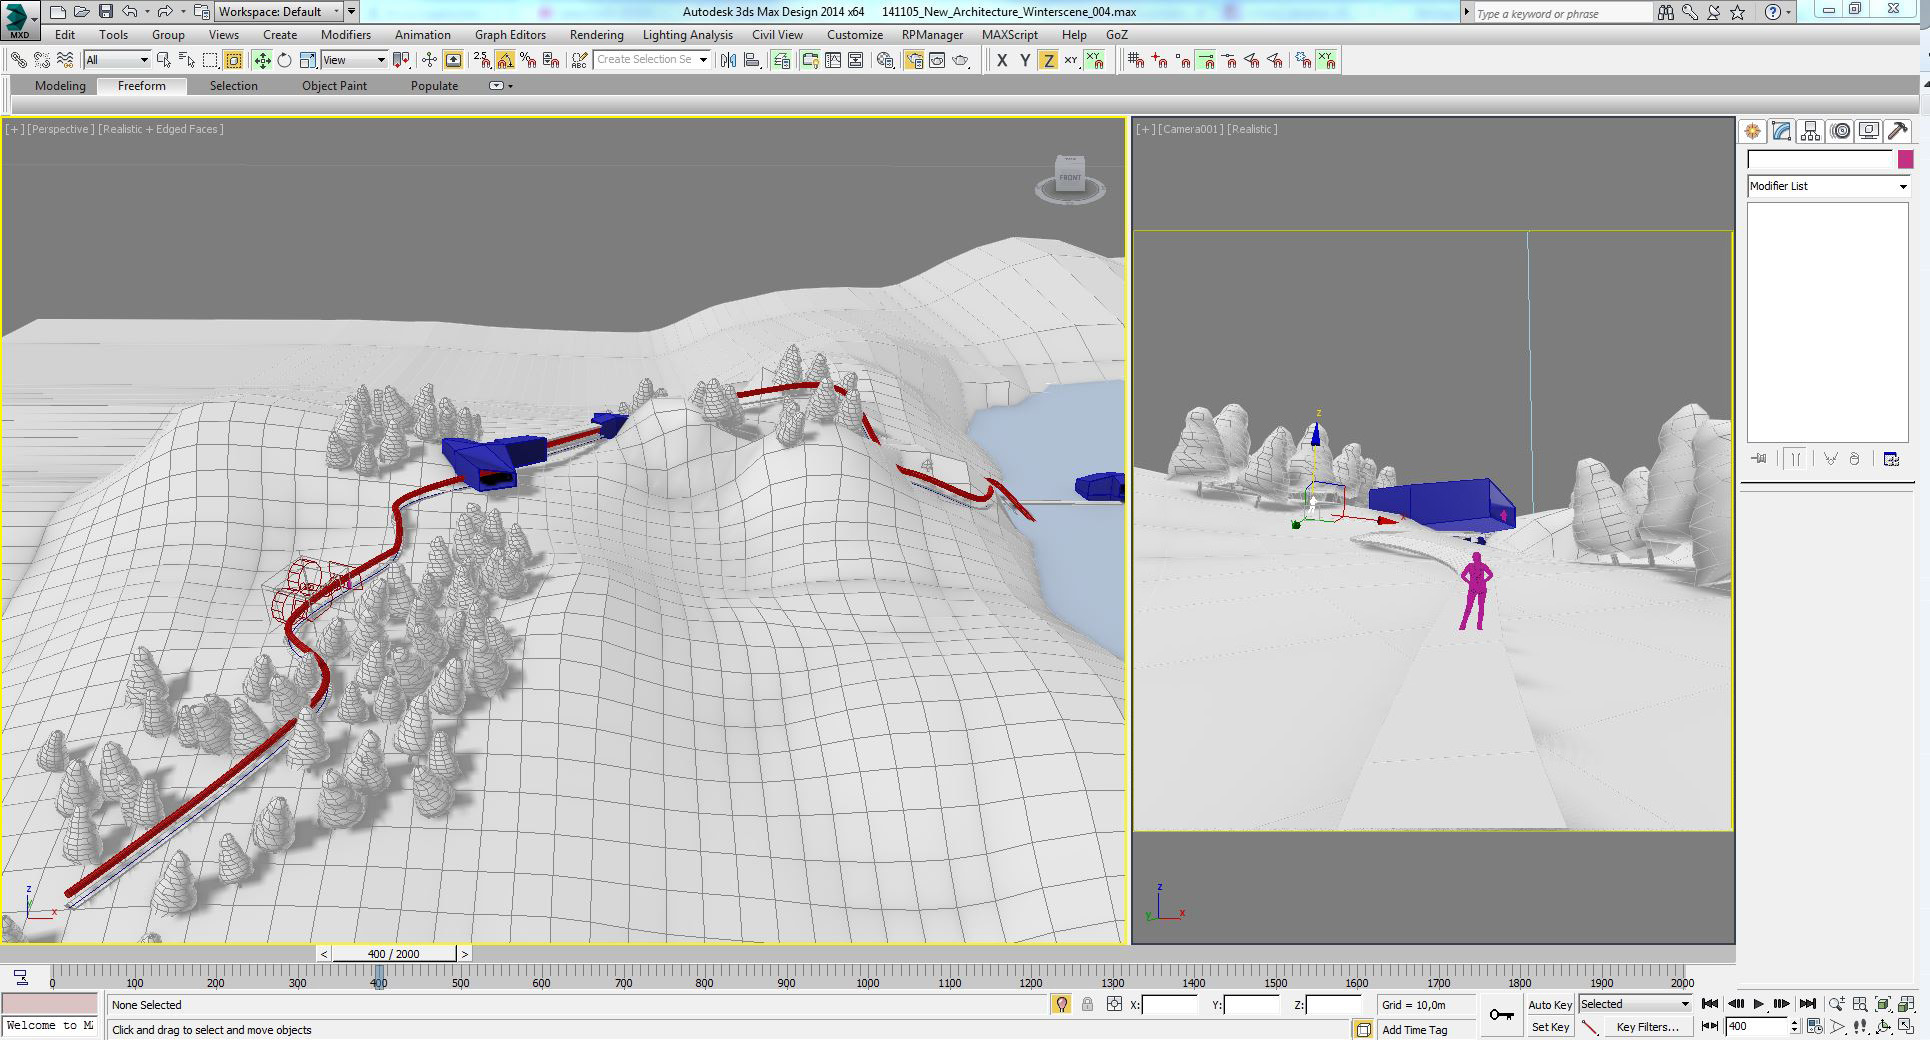
We found it quite helpful to establish this thread literally in 3d. We drew this spline in 3ds-Max in eye height and had an camera run along it. So you have a very quick impression what your whole world is going to feel like from down there.
4. The right scale
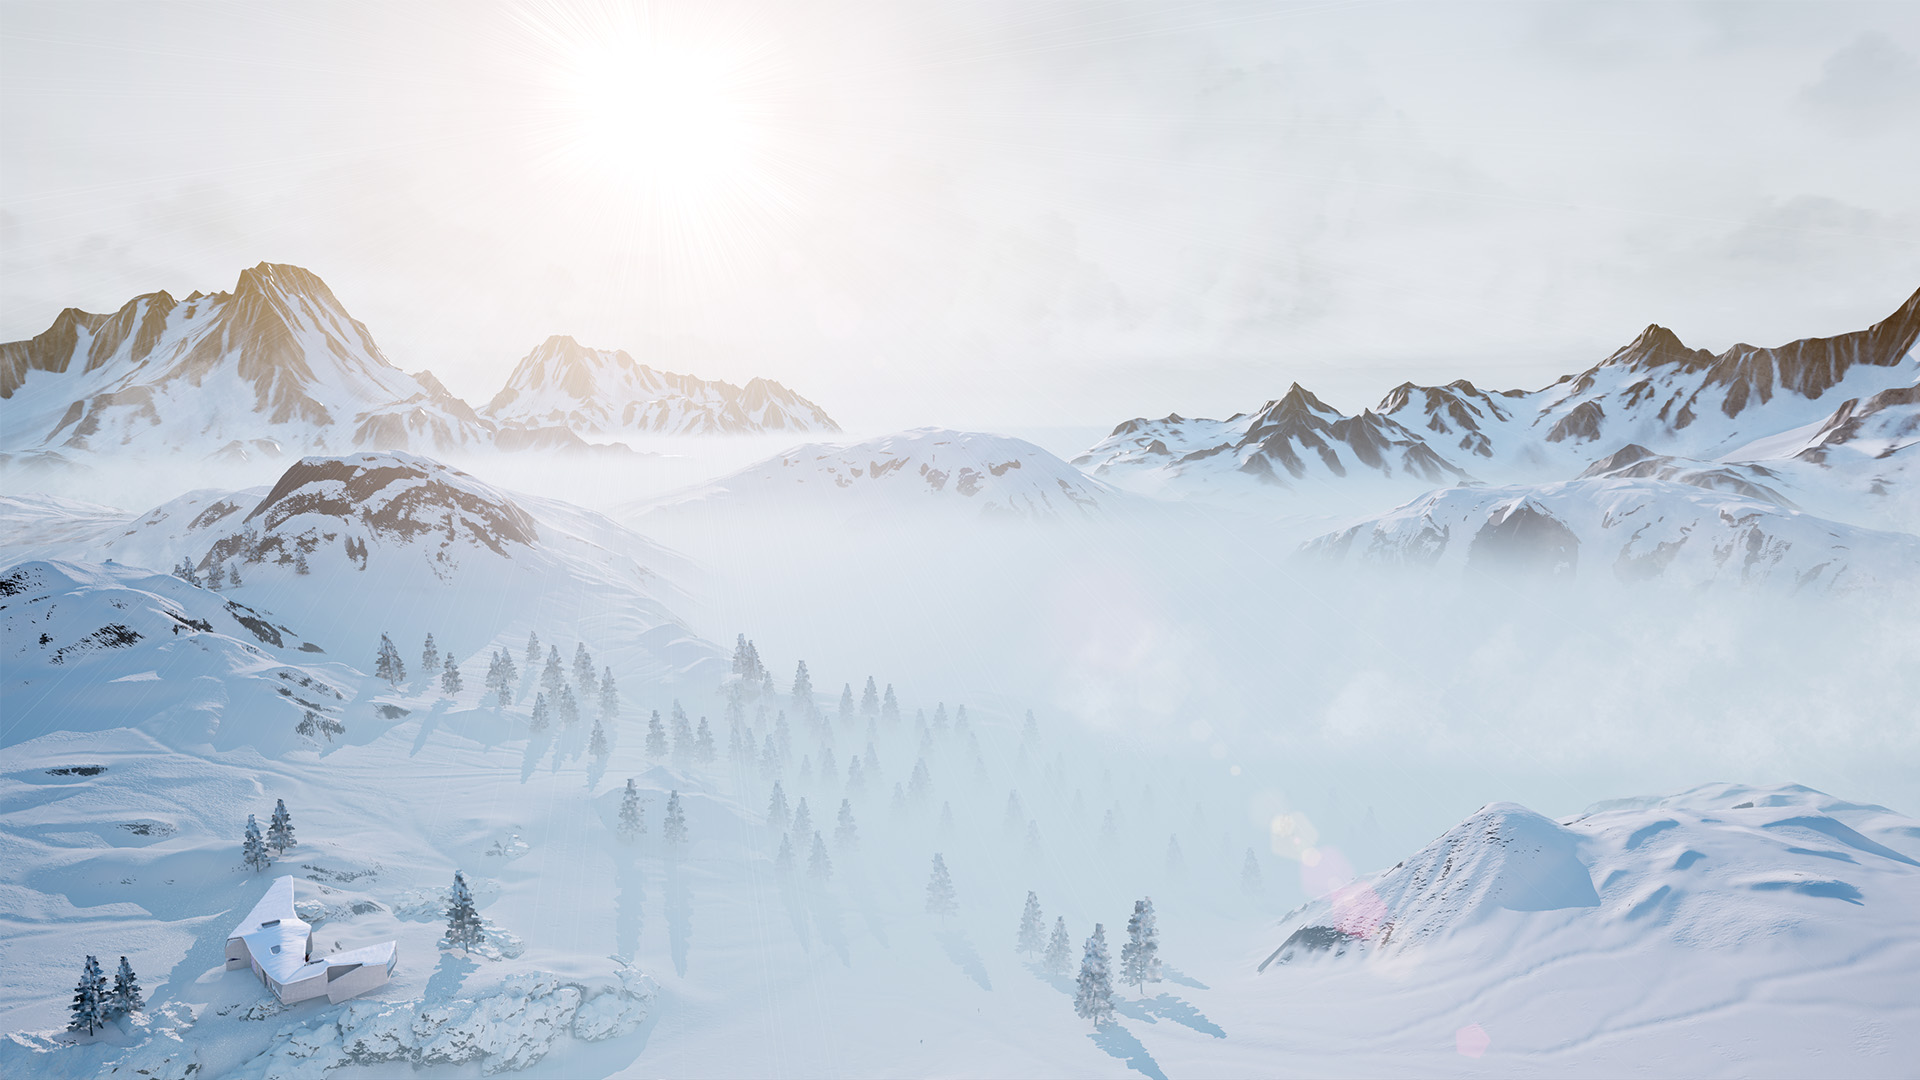
Unreal Engine and other engines are capable of handling MASSIVE terrains many kilometers in diameter creating truly impressive vistas.
Putting big scenes together this is actually not that easy at all. All to oftenly we found ourselves realising that we misjudged the scale totally. A scene that felt huge, suddendly turned out to be rather small – or we have problems finding our actor at all, because he is dwarved by the architecture . Therefor first thing we do is important a small figure to give the right size. And don’t hesitate scattering these all over your scene. This ensures you are always working up to scale.
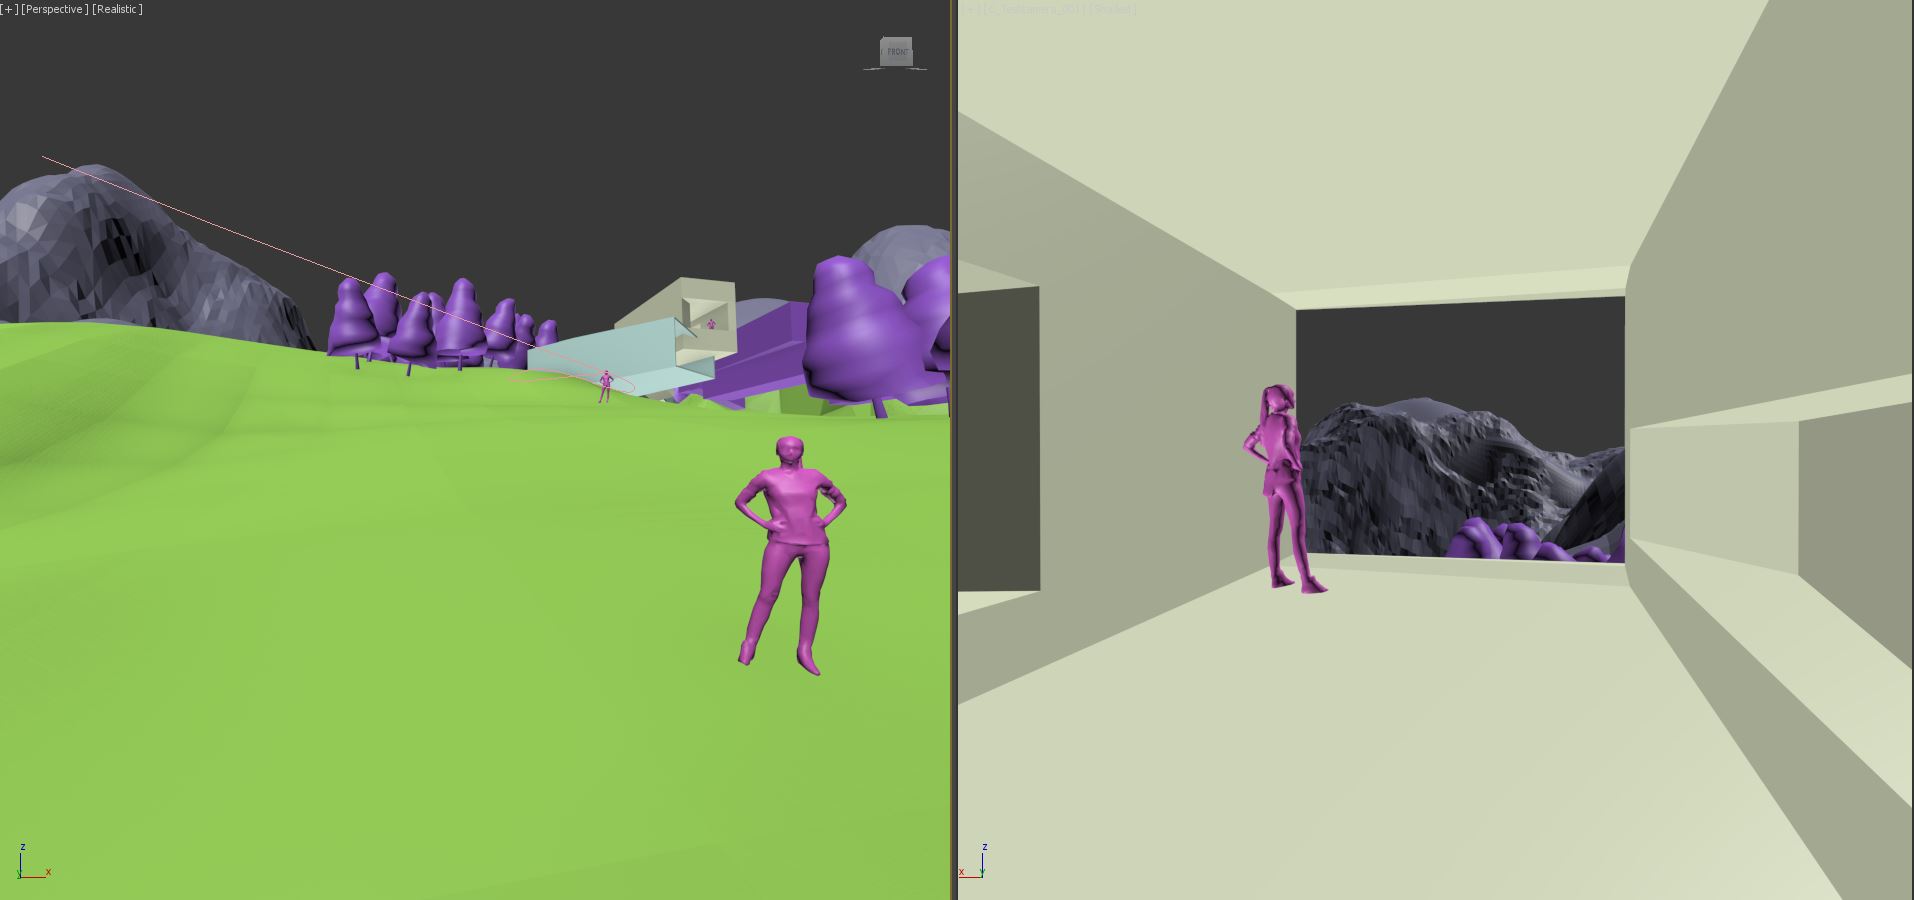
Multiple persons scattered over the scene always help to keep the right scale – this scene is 4km in diameter
A second thing advisable here: Talking about the thread of experience: Always crosscheck your scheme with a realistic camera on eyeheight. This is your first proof, that the user experience is working out – your first viewport of what is to be seen.
One note: Your 3d-scene might feel quite extreme now: placing a 1.8 Meter person on a 4×4 kilometer plane can be quite daunting. But these are realistic dimensions that might work very well in Unreal Engine.
5. Environment layout workflow
In this chapter I want to present a workflow we found useful to get our terrains and environments right.
The most important thing here is: Start rough. It is right to start with basic blocks to get a first spatial setup – I would even consider it wrong to get too detailed.

This level of detail is absolutely enough to get the first idea. Don’t start detailing before you like the overall feel.
First off Unreal has some quite powerful landscaping and blocking tools. You can surely stick to them, and conceptualize your whole environment there.
Coming from a regular arch-viz workflow we obviously wanted to model in our 3d-package of choice. It felt right to also create the layout in the same application.
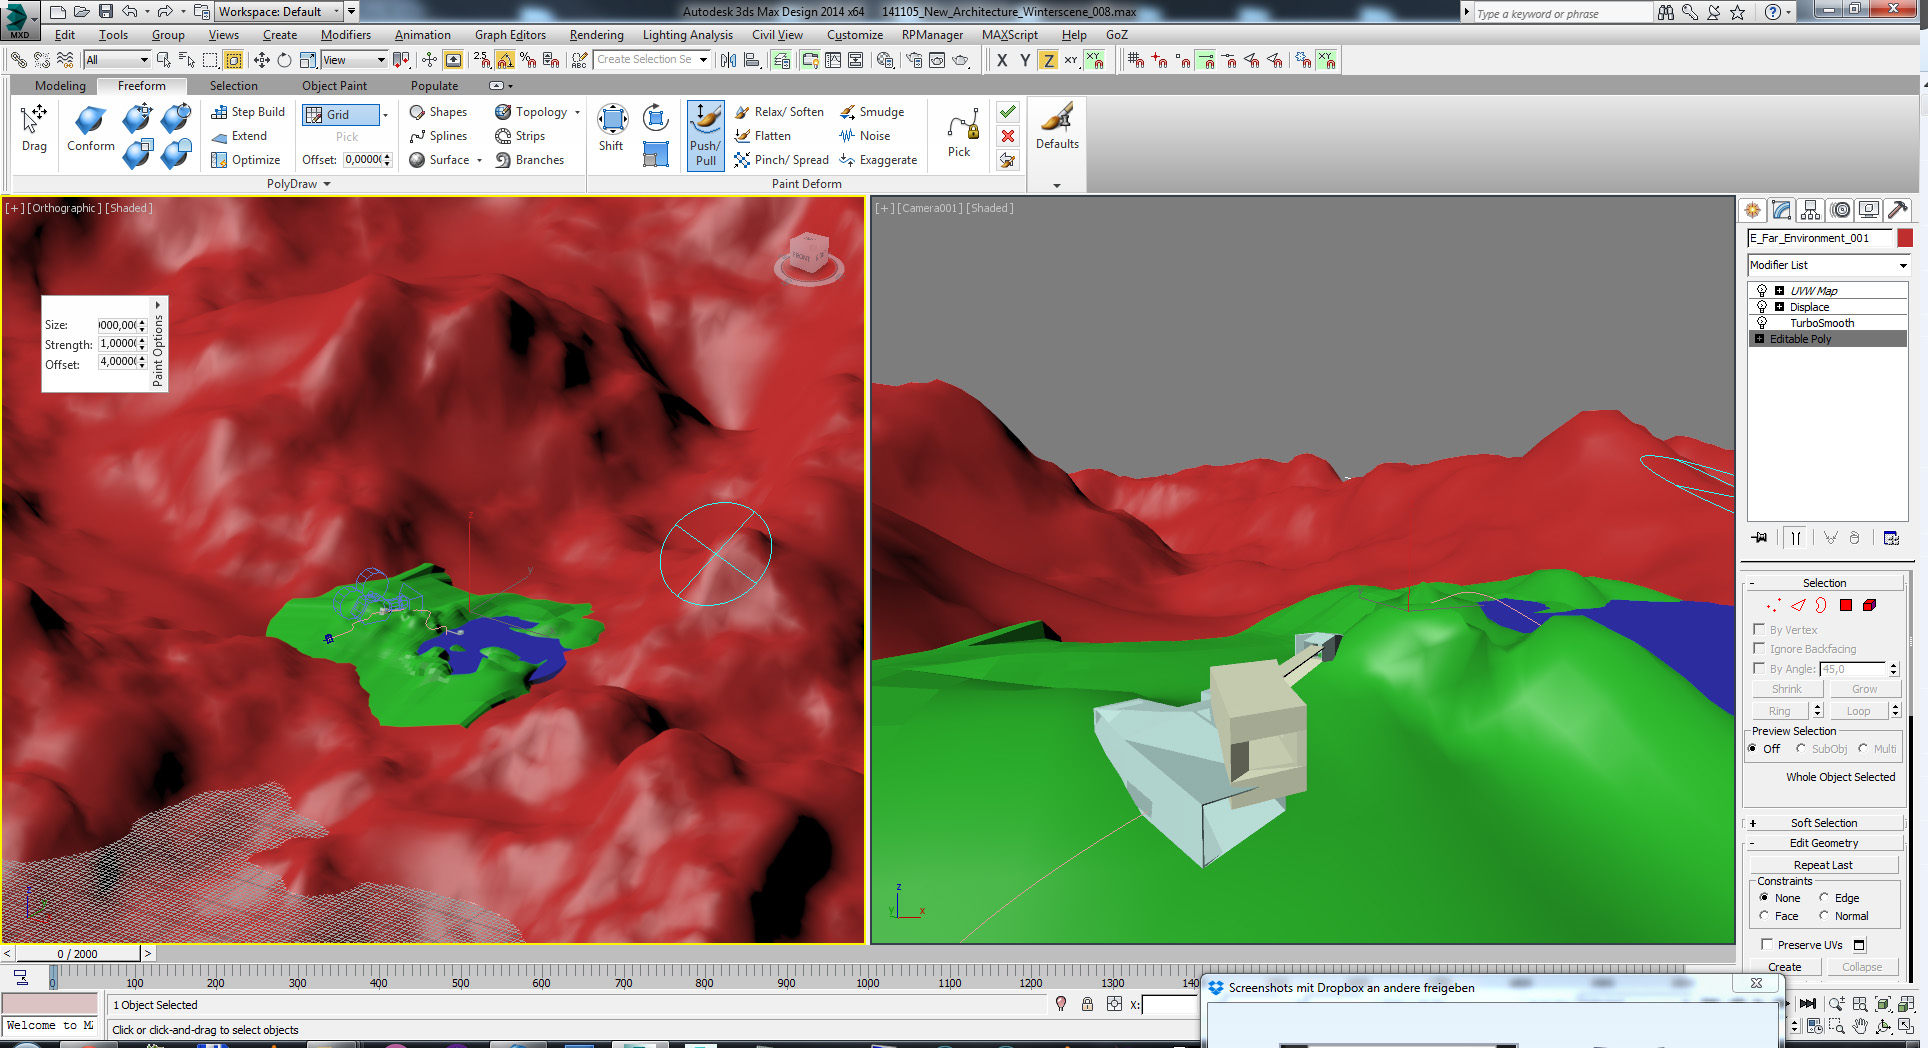
That’s how we sculpt the overall terrain feel: One view to work and one to check a low point of view immediately. We used two levels of detail for closeby (green) and farview (red).
We start by creating a plane of the desired size ( in this case 4 by 4 km) and place an initial block in the middle. Then we used the 3ds-Max painting tools to create a landscape that felt ok. Details are not important – this happens later. Make sure you also doublecheck a lot from ground view here.

Generating a heightmap in Max as greyscale (16Bit)
After this we rendered out a greyscale map which is used in worldmachine to generate some natural erosion details.
You can generate various maps inside Worldmachine which can be used later in Unreal or other engines: heightmaps, splatmaps, detailmaps.

Left is a kind of beauty pass inside Worldmachine – on the right side we do see a splatmap for shading inside UE4
6. Small wins
Now some very important advice in general. Keep you goals realistic. It is ok, to have ambitious aims, but I have witnessed endless projects running out of gas, because the artists behind it wanted to create something way too massive. I’ve recentely seen a mini-team trying to redo GTA – there is only failure guaranteed (and the idea is horrible, too).
If you have big dreams, a good way is to go for small wins: Maybe the first thing you want to get out of Unreal is a simple rendering?
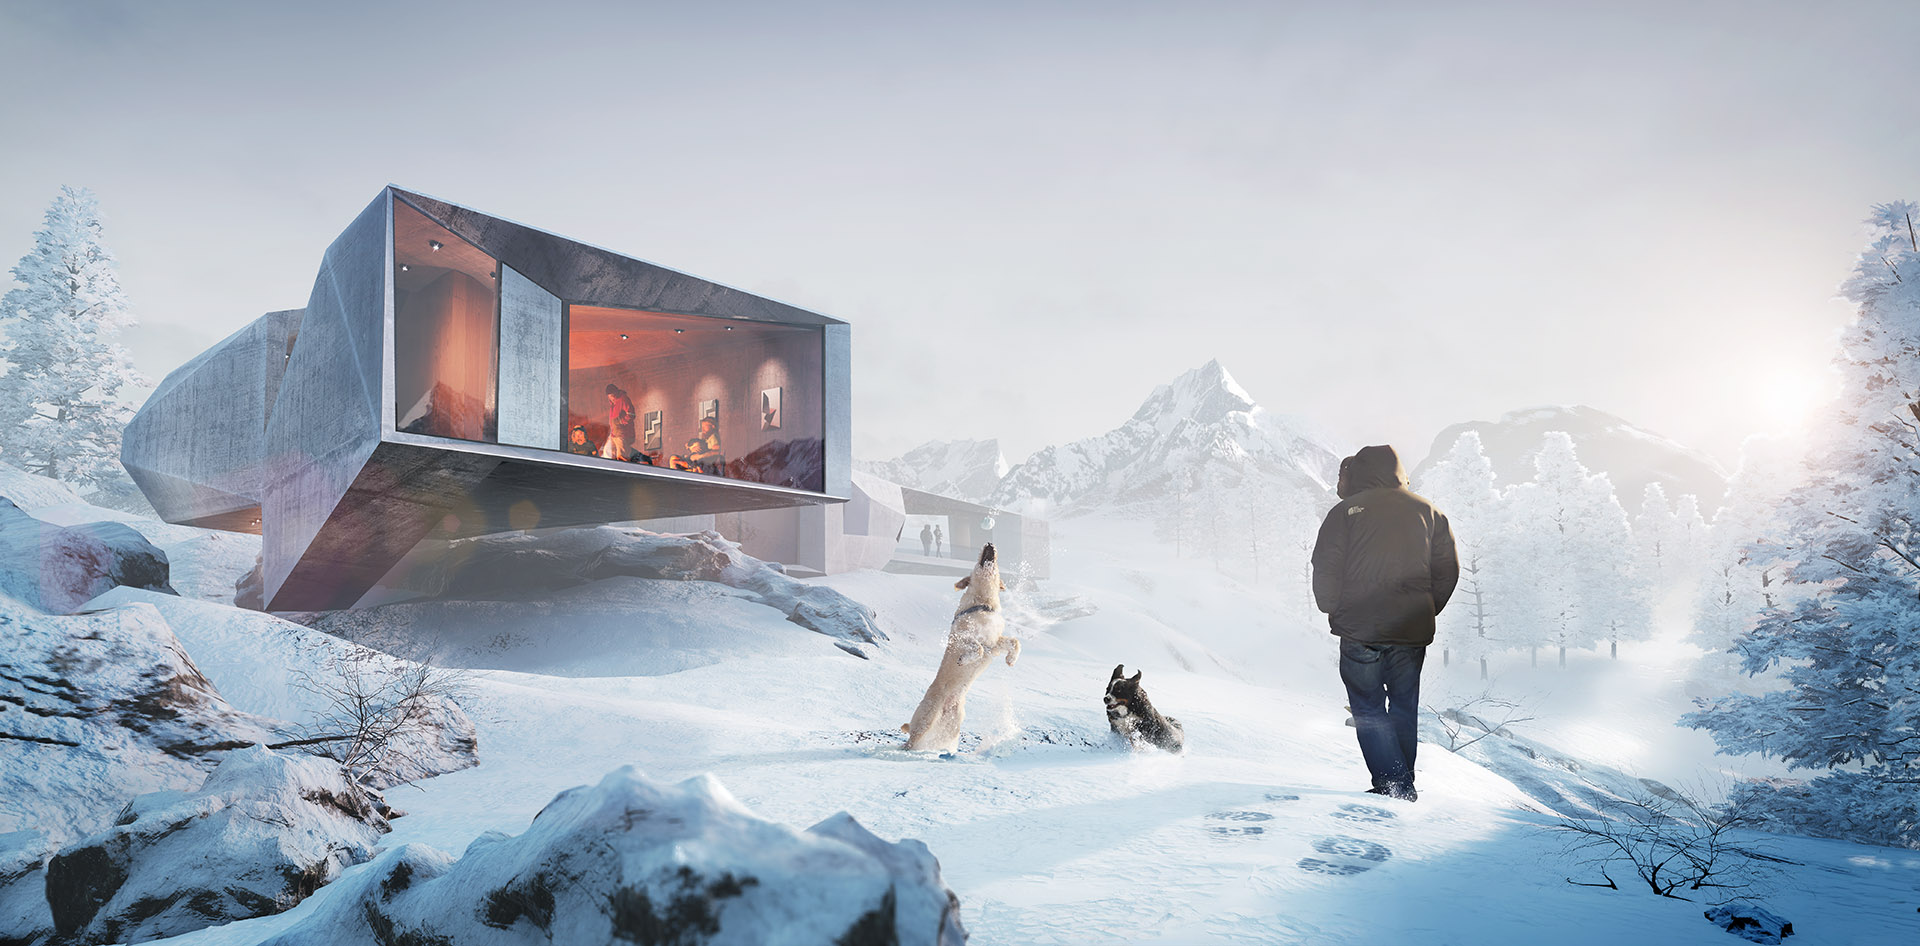
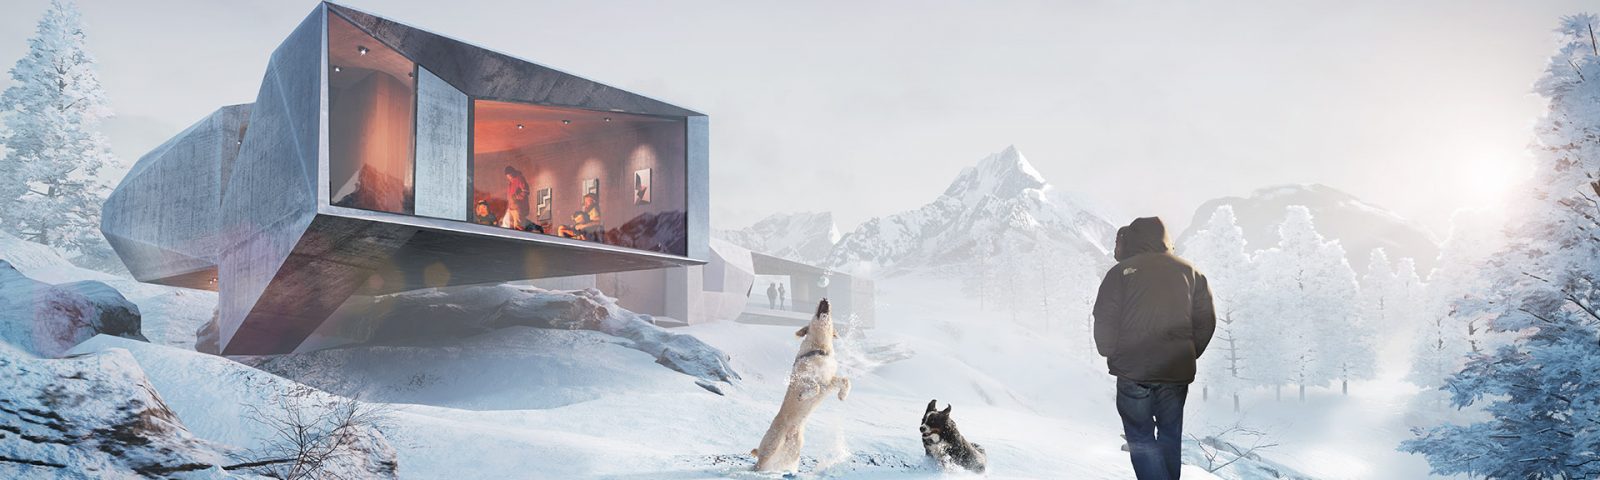
The first “win” in our project. A rendered still image – the interactive parts followed months later.
In our Winter Chalet Project the first output was a simple printcard for our customers. Secondary we did a rendered out animation. Now finally – after 6 months !!! – we have a first interactive packaged product. And it is actually still far from pristine- but ok for us.
The only way we could see that through, was by having rewards in between that made us go on …. small wins :)
Final note:
Creating interactive sceneries is a challenge for regular artists and small studios – a lot of new dimensions come up that also need to be tackled – but it is surely fun! We hope our hints help you to structure your process and finally get to the result you had in your mind, when you set off into your creative journey! Happy composing! Best regards, Peter, xoio
Comments
- Pingbackxoio-air | Winter Chalet – Interactive