In this second part of our Vray-Pattern feature we want to give some insights, how we finally made use of it in a larger production. We gave a basic introduction to what Pattern does here. Now here’s how we use it. Enjoy!
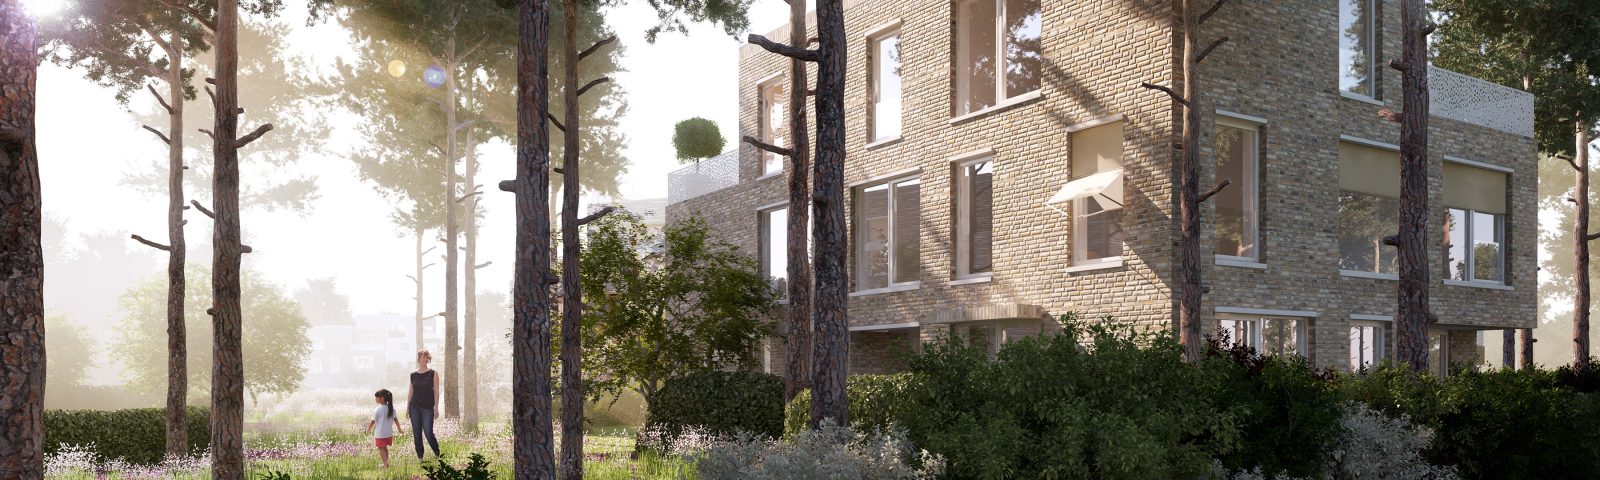
The project required a fairly big terrain to be fully planted. Vray Pattern was ideal for some tasks since we had this huge area to cover with grass. Massinstancing plugins like Forest could not cope with this size. Additionally we needed clean cuts of our grass, especially at the borders of the lake.

We used Vray Pattern for 3 different uses: The grass, the hedges and the ballustrates.

1. The grass:
First you need to prepare the base terrain. We made use of various Material IDs to define Areas that we wanted to be covered in grass. In the sample image pink areas are the future grass areas. Material IDs can be picked within VrayPattern easily, so there is no need to cut the distribution object apart.
As you can see the overal dimension of the area is pretty huge and VrayPattern does a great job covering those with ease.

Remember that good UV-coordinates are important. Coplanar UVs are disasstrous and can produce wondrous spikes shooting through the scene, because VrayPattern stretches the sample geometry to extremes.

Here you can see the basic setup of the Vray Pattern Gras. Controls in Vray Pattern are simple and straightforward.

2. The hedges:
Doing the hedges with VrayPattern was a good choice. The issue was, that we had quite a few of these freeform hedges that all looked different. We could have used proxies, but then we would have needed to generate one for each hedge. Using Forest did not work, because it could not cope with that amount of leafs as well. So we gave VP a shot:

First we buit the base geometry of the hedges. I am a big friend of procedural setups and in fact you can trace all hedges back to their initial spline. Some noise also provides a natural touch of the shape. Notice the assigned UVs that are necessary to make Vray Pattern work alright.

Now we needed to built the Leaf-Patches: That is a setup we are especially happy about: Normally you would think that Forrest and VrayPattern do not like to mix in a scene. In fact we could nest them within each other in one object. Basically we scattered the leafs with Forest to obtain a rectangular Leaf-Patch. We played with the Z-Value of the Transform a little to give it more depth. Just make sure to switch the result to Mesh-Mode in Forest, so you get a geometry you can use for Vray Pattern.

Now you can pick the Forest-Object to be used as a template in VrayPattern. In this setup you have full flexibility and can adjust the overall look and distribution of your leafs anytime later.
Finally generate a VrayPattern-Object. Assign the hedge-bases as distribution plane and the Forest-Leafs as Pattern. Assign the Multimaterial from Forest to the Vray-Pattern Object. Done.
Adjusting the gizmo:
We cropped the sides of our geometry, so we have less tiling issues. These would occur when the density at the edges would be lower. Additionally you can make use of the RandomTiles mode to avoid Tiling. Like this Vray Pattern will randomly take one of the tiles and distribute them across the surface according to the UVs.

3. The ballustrate
Doing the ballustrate with Vray Pattern shows a more architectural use of this tool. The issue here again was, that we needed a highpoly representation of the balcony. Again Proxies could have been an option, but some of these ballustrates are slightly stretched and wider than others. Again, lots of different proxies would have been necessary.
This was easily solved with Vray Pattern and proper UVs. First we generated simple planar objects everywhere a ballustrate should be present. These are simple one-faced objects . W e unwrapped the ballustrates properly and made sure that the Pattern is not cutoff. The greatest benefit here is, that we can easily squeeze or stretch the balustrate or add another segment. Just modify your unwrap-UV slightly.

For the use with a full architectural object it helps to enlarge the gizmo of Vray Pattern slightly. Like this we get the full geometry without any cutoffs.

To get better visual representation it helps to make use of the Preview Function and use the resulting render. This representation does not change anything in the render, but it can help bigtime in your workflow.

Conclusion:
It would love to state a couple fo the real benefits of VrayPattern:
It is very stable! We only once had an issue, where Vray Pattern did not like a hidden MentalRay shader somewhere else and crashed. Otherwise we never had an issue. In this project we mixed various Forest-Objects and Vray Pattern Objects and it proved to be no problem. In fact we even nested a forest-object into a VrayPattern object (see 2. Hedges). Now this is pretty cool!

It has to be noted that the biggest work when using VP is to set up the patch and the distribution object. Setting up the VrayPattern then is done within seconds.
I can only recommend to familiarise yourself with this plugin. There are some issues that you will encounter with Vray-Pattern. But our team at xoio has meanwhile fully integrated this plugin into our workflow, because there are certain situations where it comes in very handy.
I hope this demonstration was helpful. Thanks for reading!
Team xoio

Comments
- PingbackProduct Feature: Vray Pattern – Introduction | xoio-air