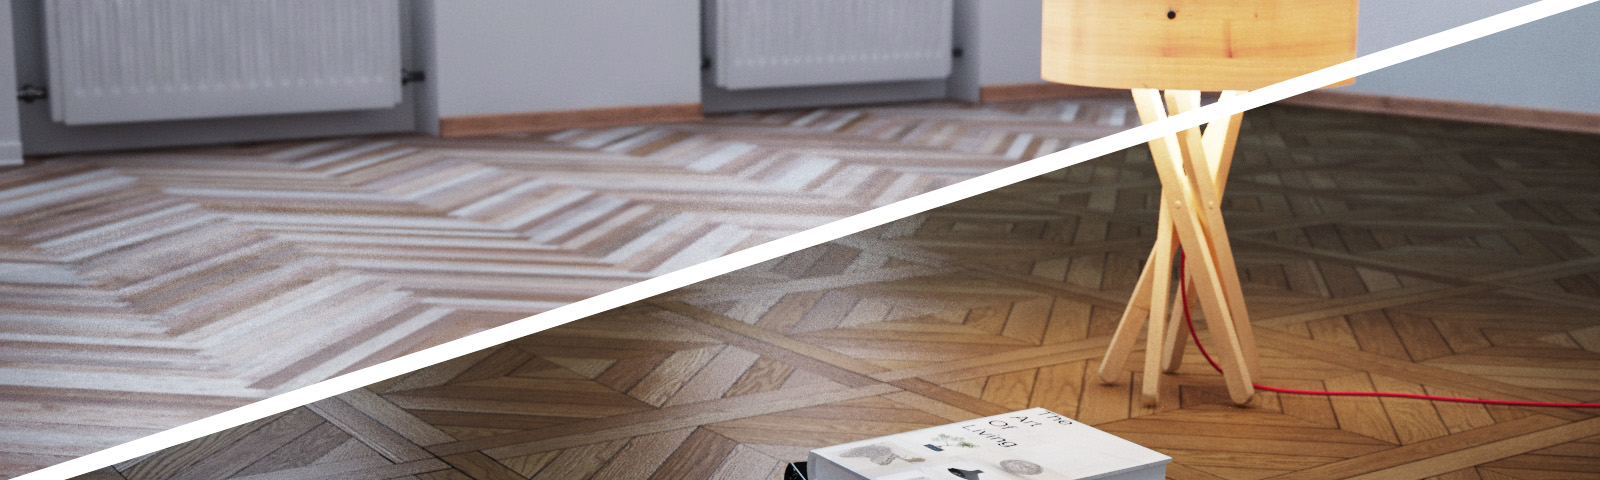
Here is a set of two hand modeled parquets.
Modeling Process :
Single planks were modeled to represent the pattern. It is mostly consisting of boxes for each plank, and depending on the desired effect you can set more or less space between planks, or bevel edges. Then we dupplicate the boards using the great Clone modifier [http://www.itoosoft.com/freeplugins/clone.php].
Once the geometry is ready, the next step is to convert it to an Editable Poly. Then we run a script to randomise material ids on each different element of the mesh. One simple tool that is doing the job well can be found on scriptspot.com here : [http://www.scriptspot.com/3ds-max/scripts/tags/random-elements-material-id].
Instead you could also apply a MaterialByElement-modifier to your geometry to randomize the material-IDs of your boards -as always there are different methods to achieve the desired result.
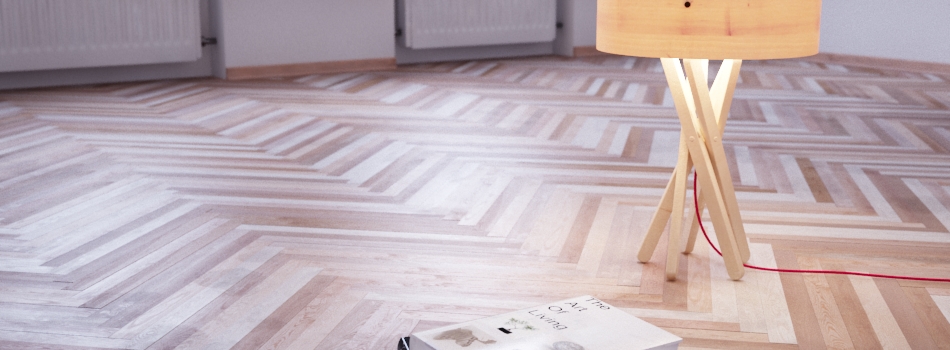

Texturing Process : Now we need to prepare many different single-board textures. It is of course better to have the same length/width ratio for the textures and for the modeled planks.
Later on we load all the textures into a VrayMultiSubTex map which is set to “Get ID from : Face material ID”. You can treat your textures in order to get reflection / glossiness / bump maps from it in a 2D software such as Photoshop, which is really time consuming since you need to work on multiple maps. Or, an easier and faster way is to make use of Ouput and Color Correction maps in order to adjust these.
Note: If you need the parquet to be on a very specific area you can still make use of slice tools to cut the mesh out and remove the geometry that is out of bounds. Just make sure you cap the faces on the sides of the planks you cut through.
Have fun with them, regards, xoio
Comments
- PingbackFree 3D Models: Parquet | BURN 3D BLOG
- PingbackParquets Free Model Pack // GFX WARRIOR
- PingbackDownload Free parquets model pack